PLEASE NOTE:
Students will be required to pay a $20 fee to help cover the cost of clay and glazes needed to complete such projects. At the end of the semester the students will be allowed to keep all pieces made.
* Below is the syllabus and a letter that explains the fee for this class.
Students will be required to pay a $20 fee to help cover the cost of clay and glazes needed to complete such projects. At the end of the semester the students will be allowed to keep all pieces made.
* Below is the syllabus and a letter that explains the fee for this class.
| _survey_syllabus.doc |
Pinch Pots - Pinch Pot Friends
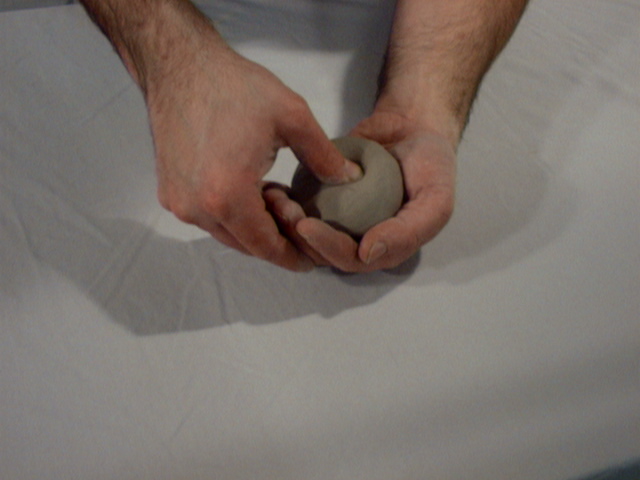
The earliest of ceramics began with the mixture of clay and sand. This mixed was worked to a perfect consistency then made into usable pieces of art. The earliest forms were made by hands, such as we do with the pinch pot. The pinch pot is made by taking a piece of clay and making it into a ball shape. Next, a thumb is pressed down into the middle of the clay ball, but making sure not to go all the way through. It is best to be about 1/4 inch thick.
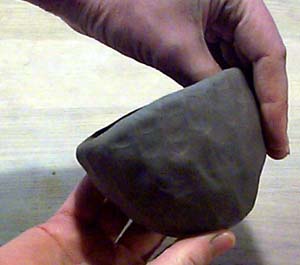
After the thumb impression is made, then one needs to begin pinching with the thumb (still in the center of the clay) and the two (or three) fingers closest to the thumb. Slowly pinching and rotating the ball, you will begin to see it move upwards creating a pot form. Pinching should still be done slowly and
After the thumb impression is made, then one needs to begin pinching with the thumb (still in the center of the clay) and the two (or three) fingers closest to the thumb. Slowly pinching and rotating the ball, you will begin to see it move upwards creating a pot form. Pinching should still be done slowly and
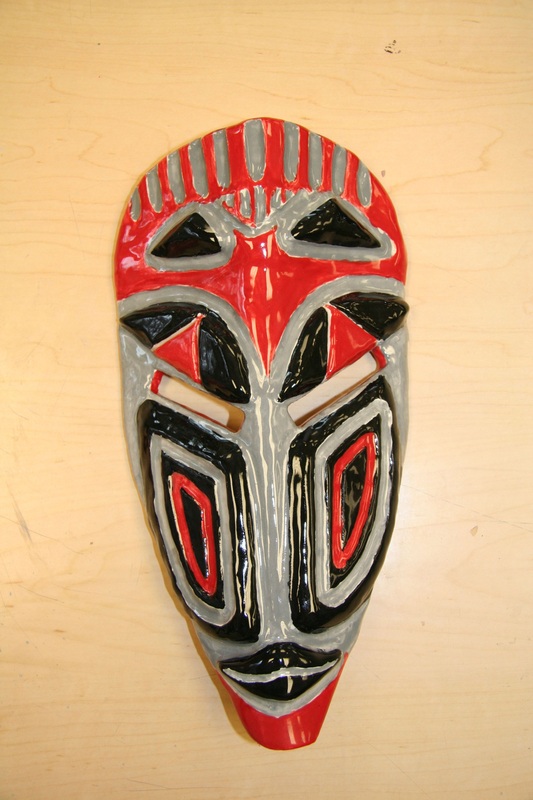
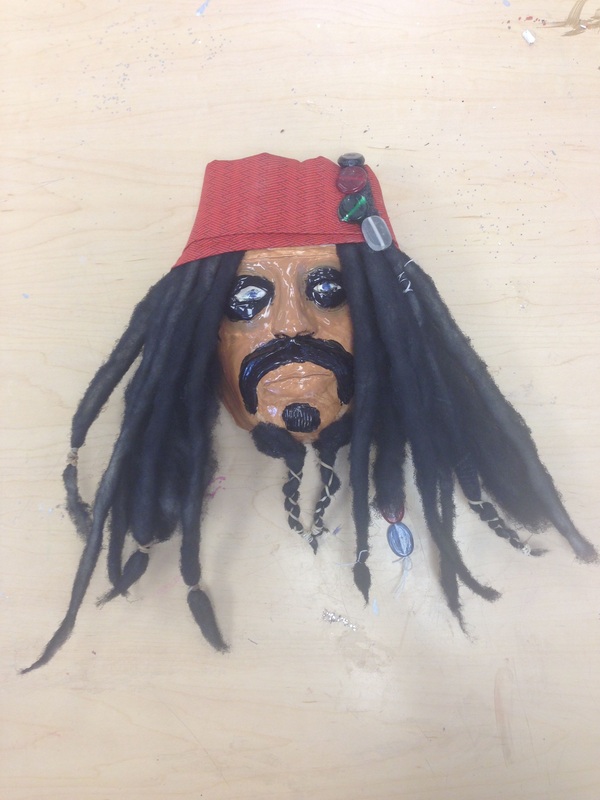
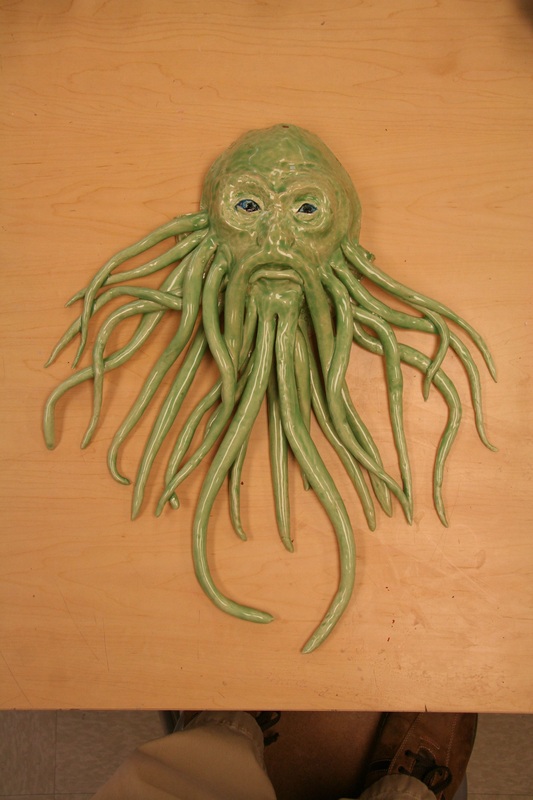
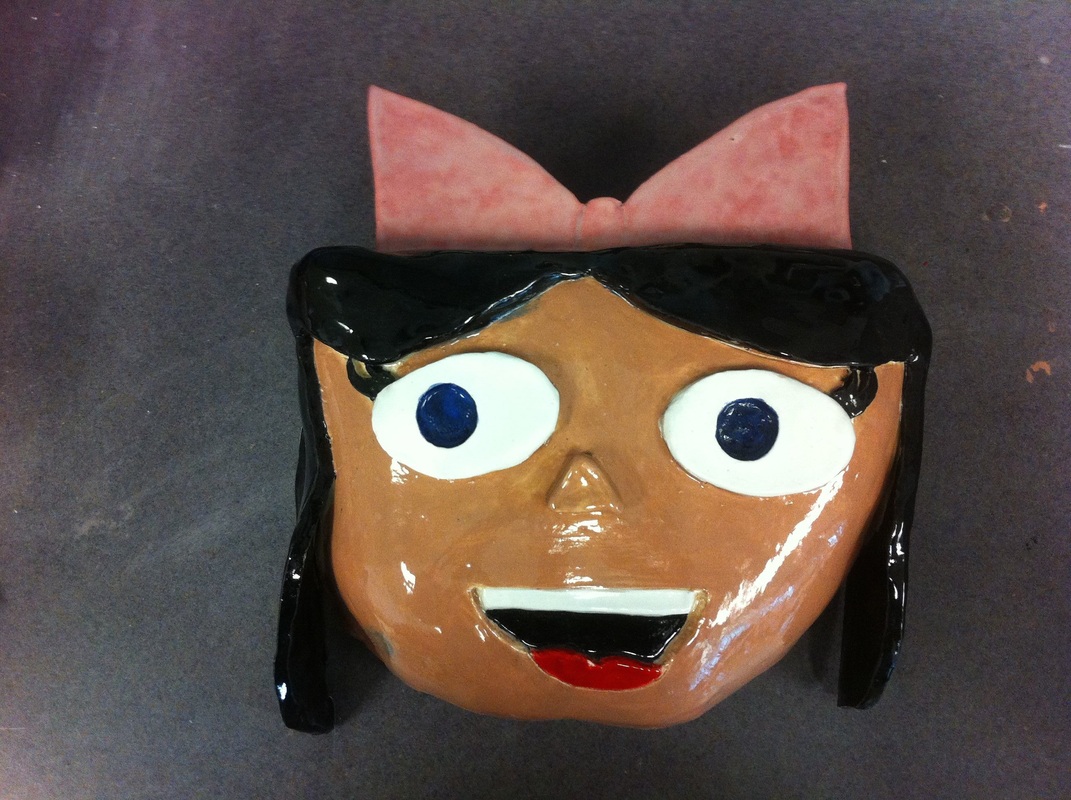
Masks
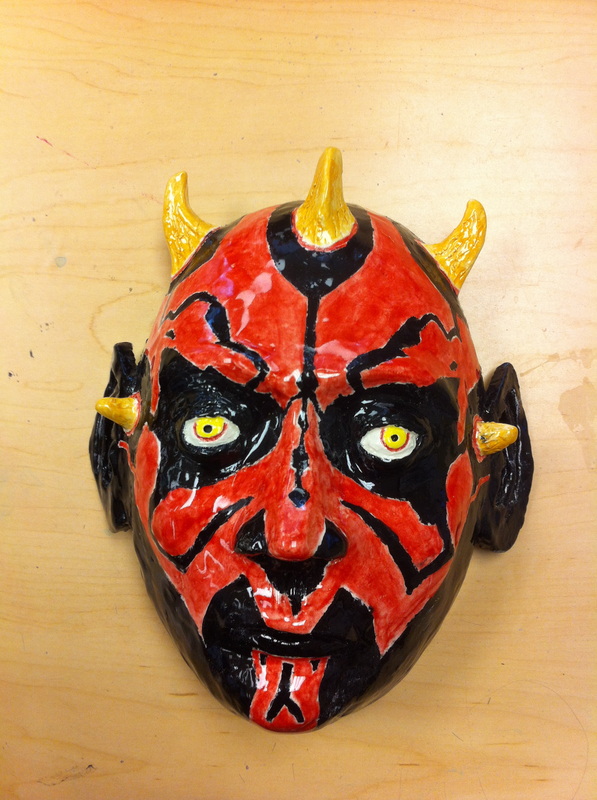
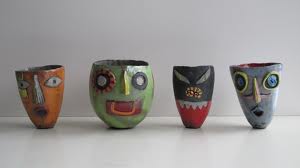
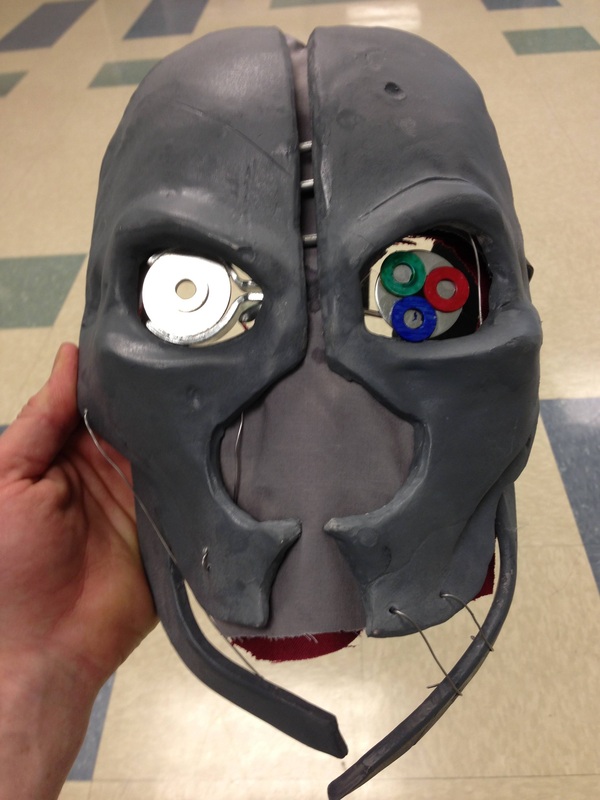
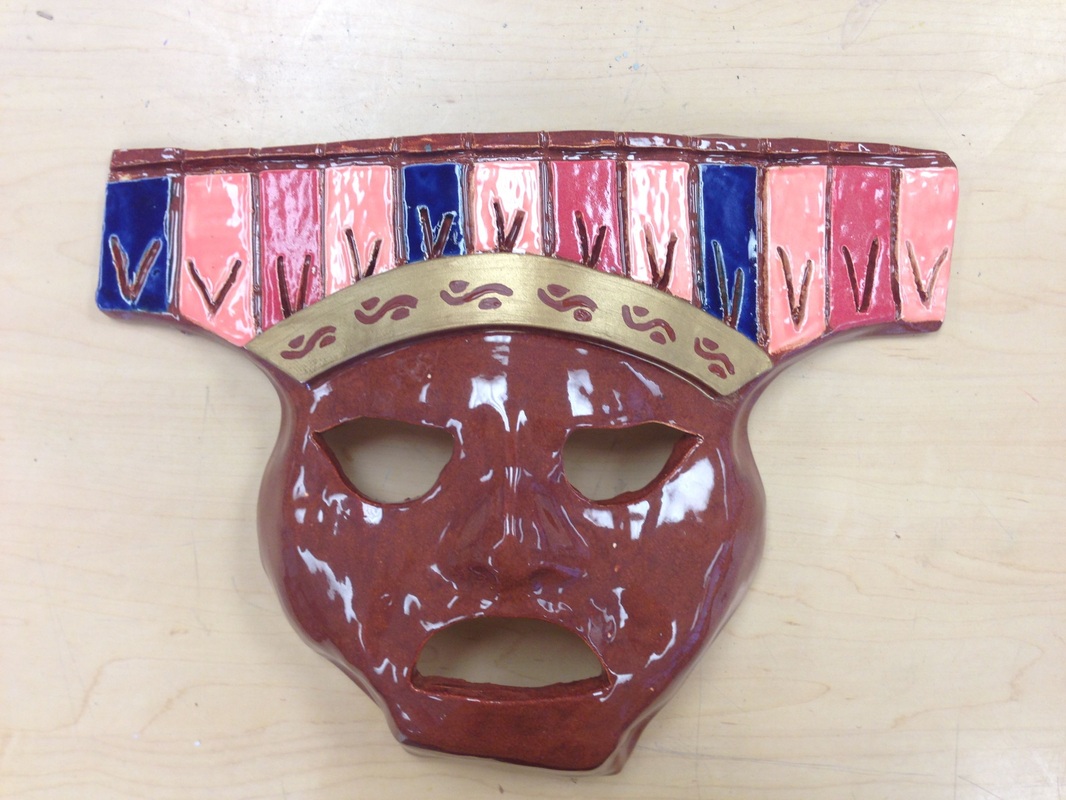
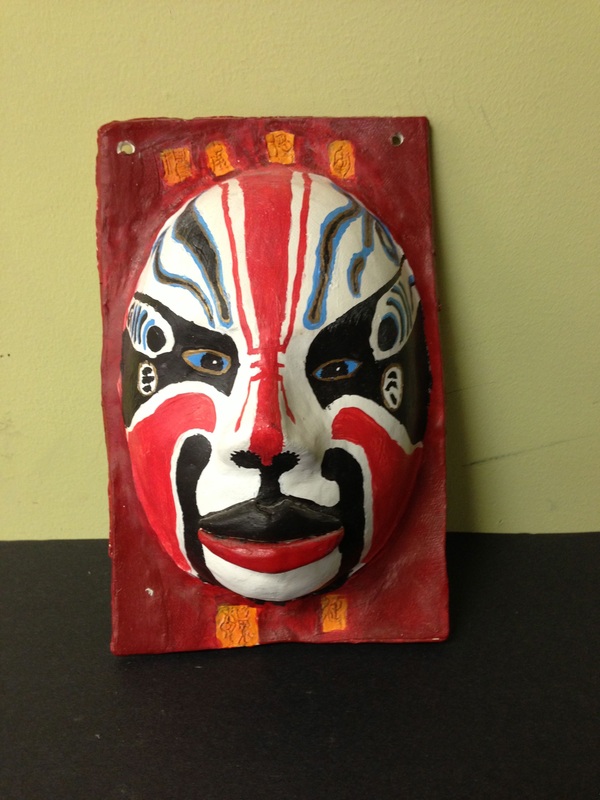
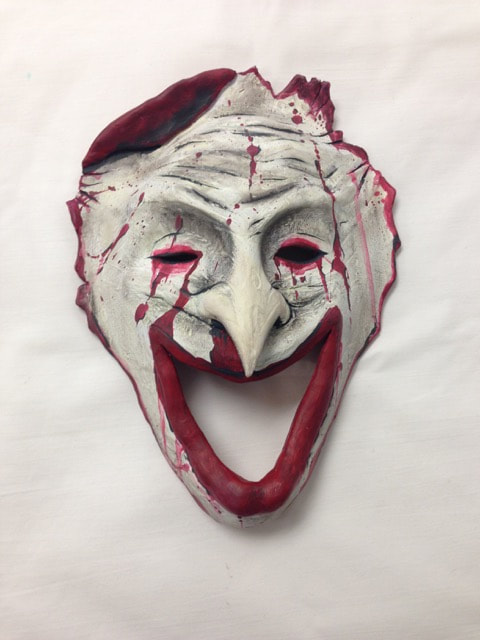
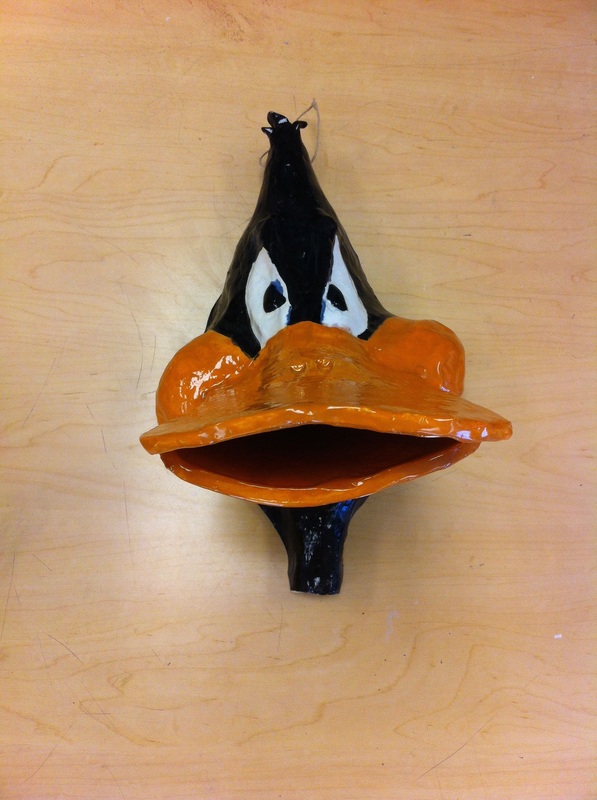
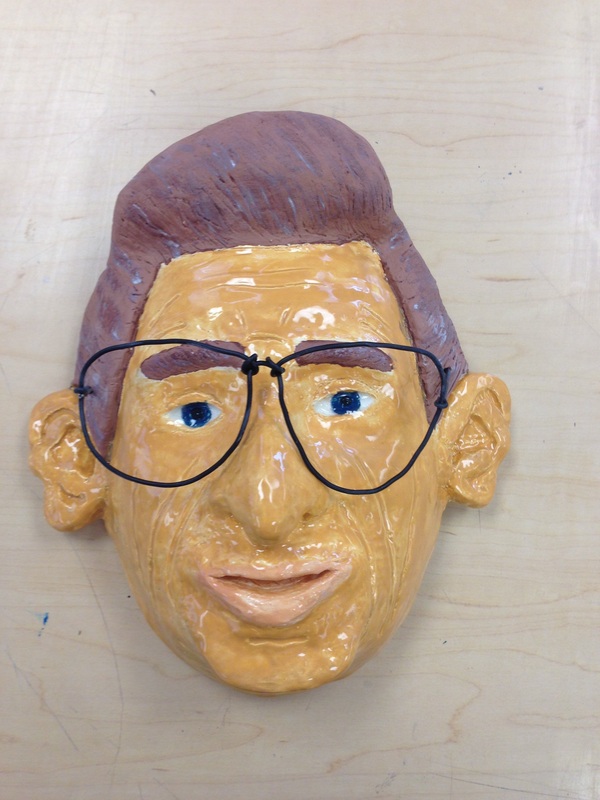
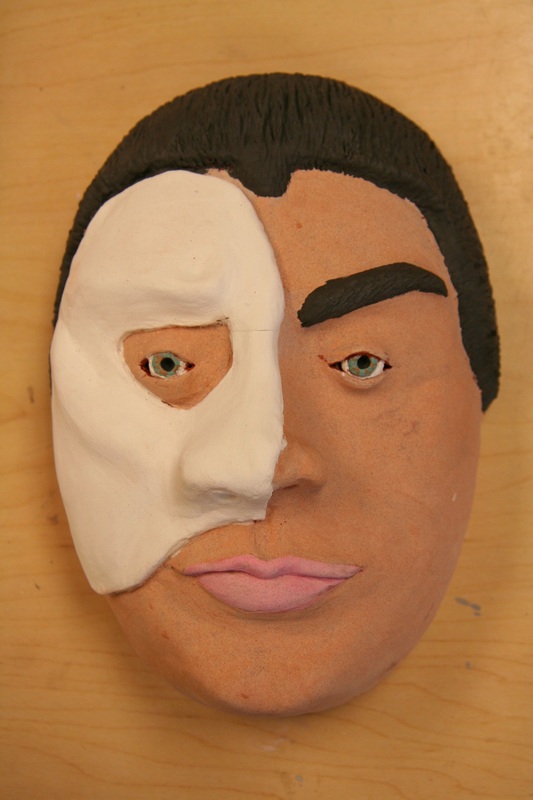
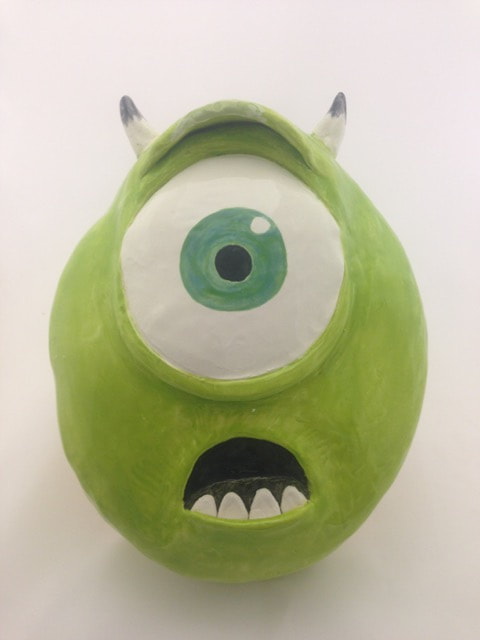
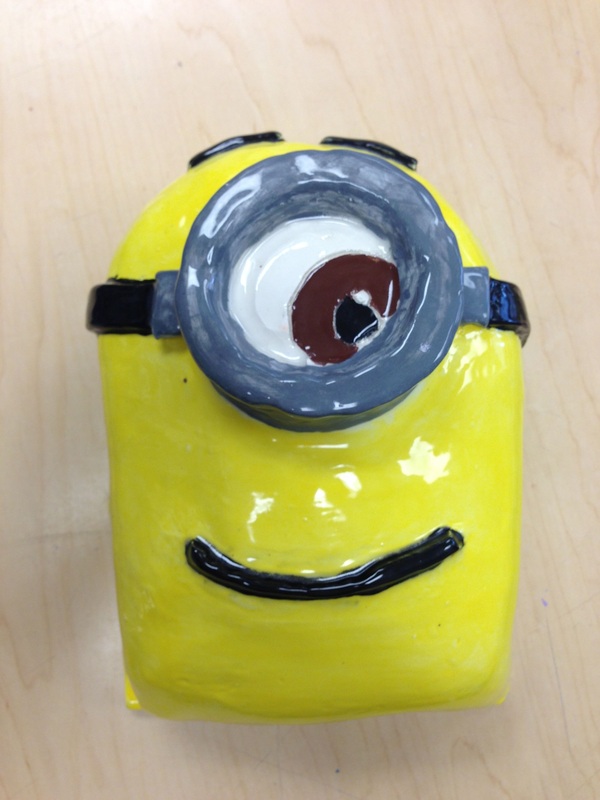
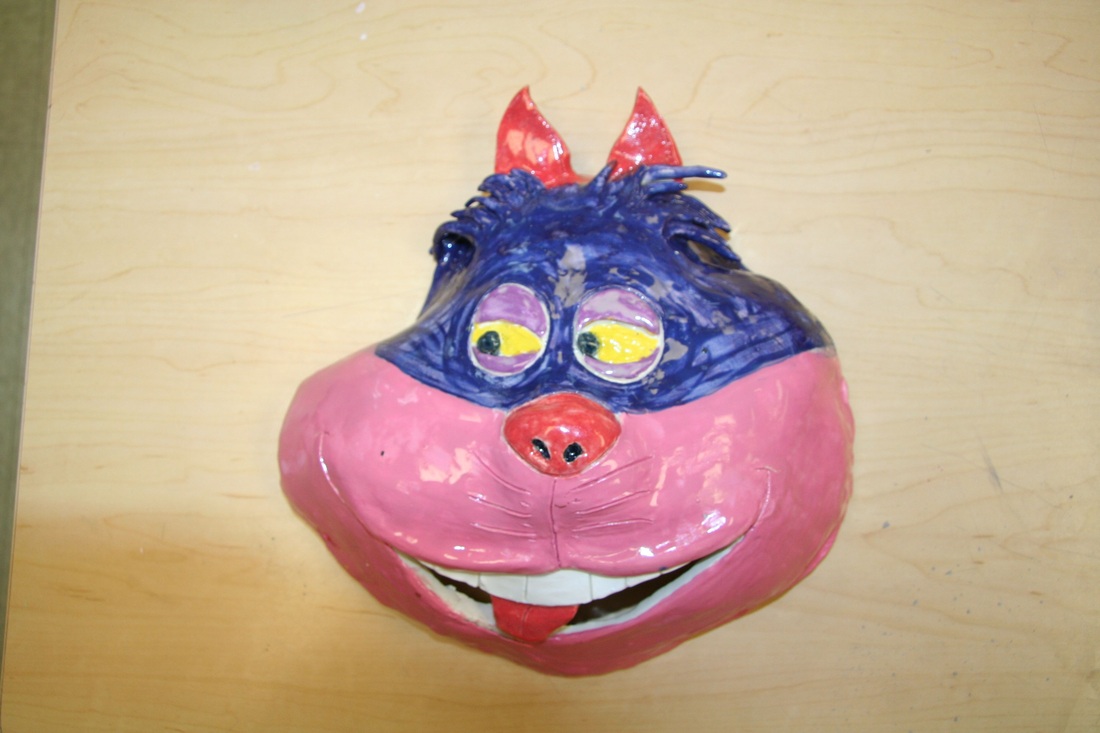
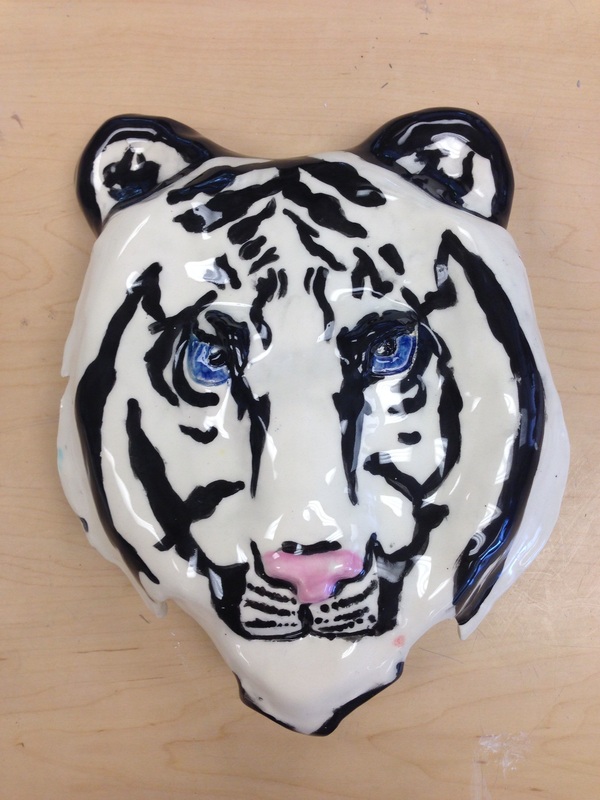
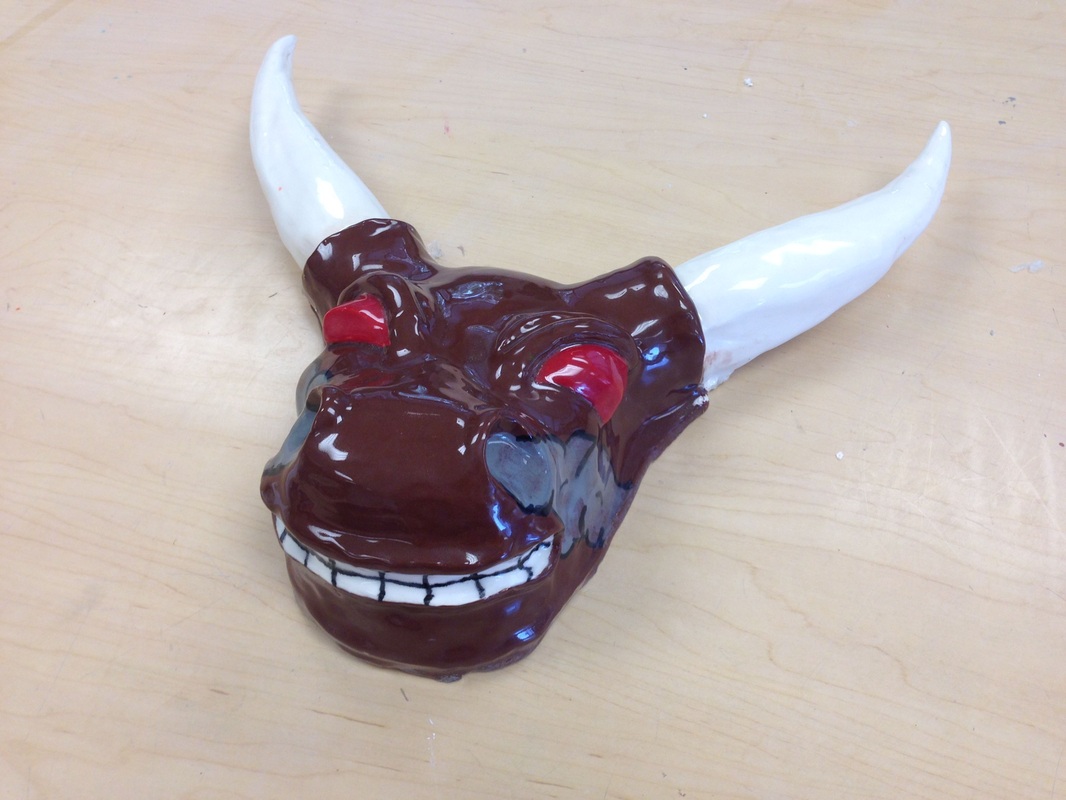
The best project that ceramics 1 has to offer! The students talk about this year after year as their favorite project. The design ideas are endless. The toughest part is coming up with something cool to create.
Everyone starts with the same plastic face form... what you create is up to you. We can build up the facial features using newspaper or cardboard, depending on the size and shape. Below you will find some of the amazing projects done in past years.
Everyone starts with the same plastic face form... what you create is up to you. We can build up the facial features using newspaper or cardboard, depending on the size and shape. Below you will find some of the amazing projects done in past years.
| mask_eval.doc |


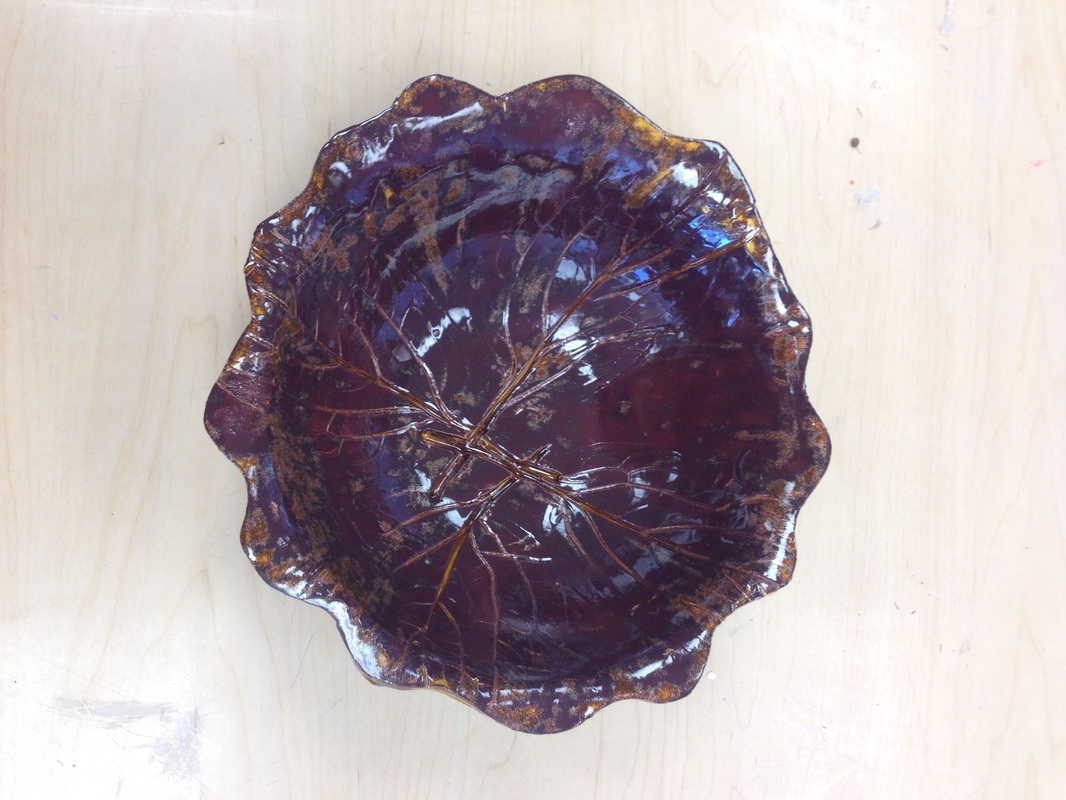
Drape Bowls
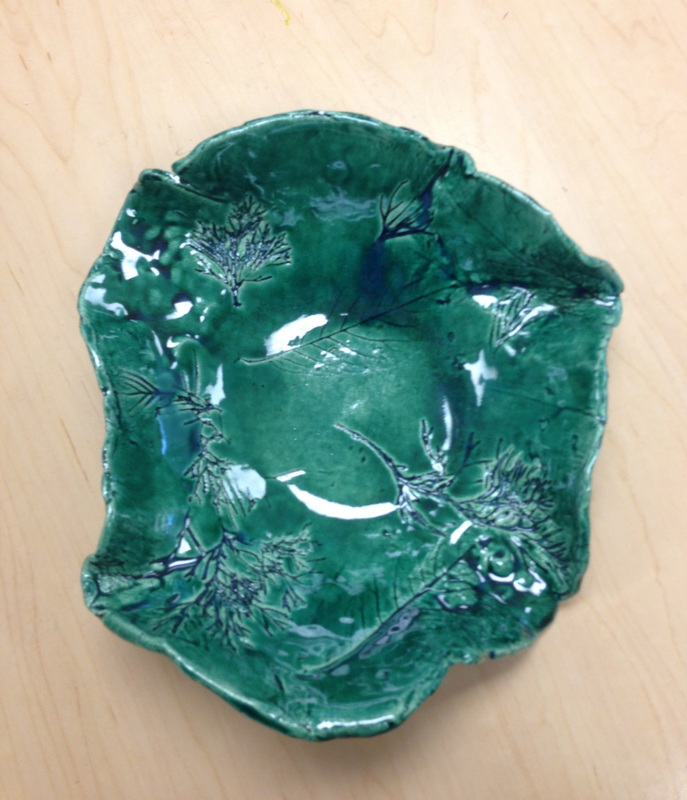
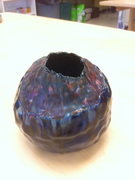
One of the simplest large forms you can create. Within this project we will create an organic shaped bowl, while incorporating organic patterns. One hint... glaze it one color!
You will begin with rolling out a slab. The same process will be done as with the plate, but a larger slab will be created. I suggest that you let it (the rolling process) create the shape. You will then roll nature based elements (primarily leaves) into the clay, which I will demonstrate. The slab is then "draped" over a plaster form. The leaf print will be face down and a texture is added to the outside. The piece is left to dry slowly.
You will begin with rolling out a slab. The same process will be done as with the plate, but a larger slab will be created. I suggest that you let it (the rolling process) create the shape. You will then roll nature based elements (primarily leaves) into the clay, which I will demonstrate. The slab is then "draped" over a plaster form. The leaf print will be face down and a texture is added to the outside. The piece is left to dry slowly.
|
| ||
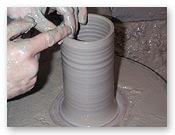
Coil pots
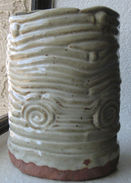
Native Americans have long used the coil method to build their pottery. During class we will watch one famous Native American, Maria Martinez build her pieces from scratch. Our lesson for this coil pot will be simple and basic - Using coils to create a basic cylinder shape.
The pot will need to be blended on the inside to keep the pot together. The outside can be blended or left alone. You decide.
The pot will need to be blended on the inside to keep the pot together. The outside can be blended or left alone. You decide.
Sgraffitto Tiles
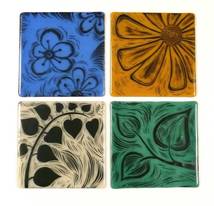
Sgraffito in Italian means "to scratch." It is a decorating pottery technique produced by applying layers of color (underglazes or colored slips) to leather-hard pottery and then scratching off parts of the color to create contrasting images, patterns and texture. It allows for the clay color underneath to be revealed.
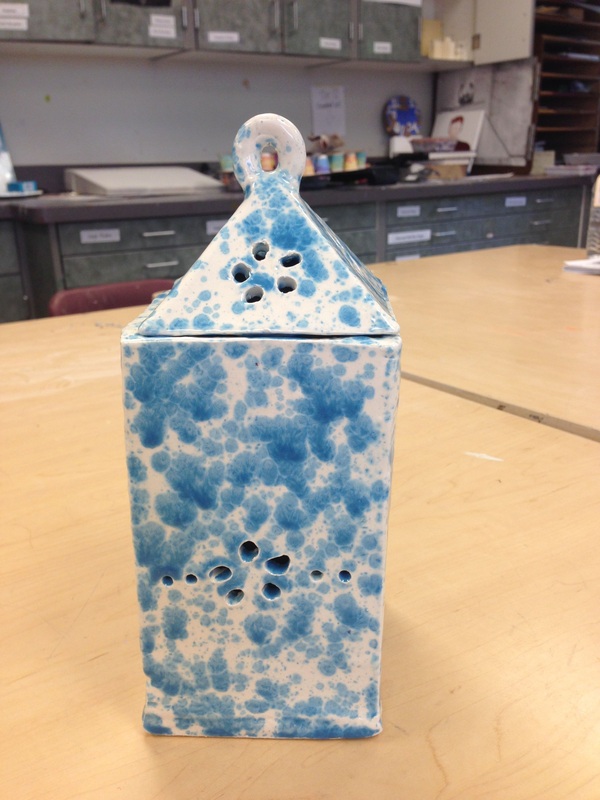
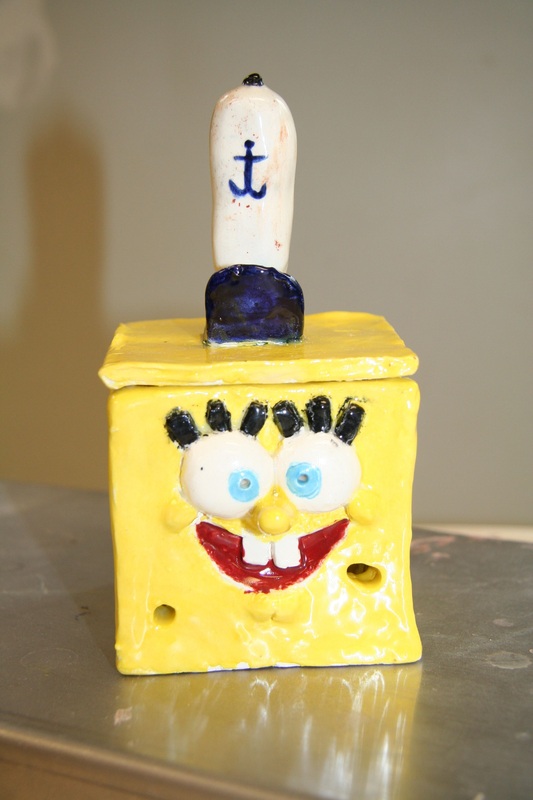
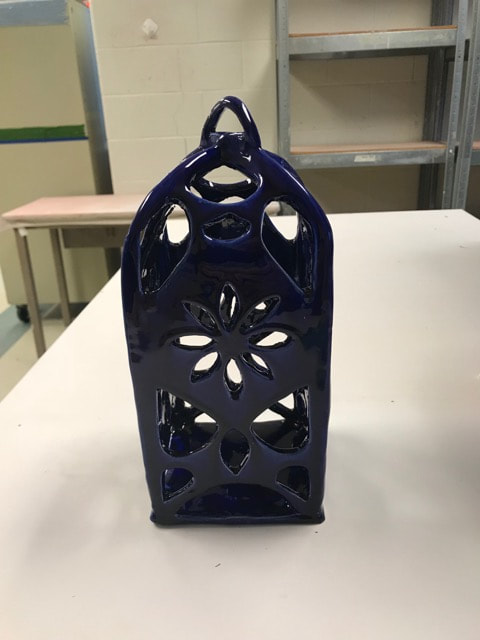
Slab Structures
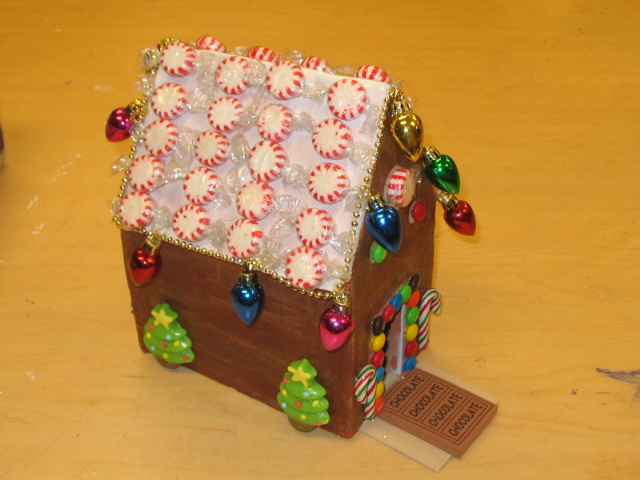
This is the final project in the ceramics 1 course. It is generally one of the more challenging projects, due to the specifics needed in measuring and time needed for drying clay. With only a few weeks left in the semester and only 40 minutes to work a day, students need to plan accordingly.
The slab structure begins with and idea and is taking to a pattern. The pattern is then drawn in clay and the clay is allowed to dry to its leather hard. Once leather hard, the clay is slipped and scored. A coil is added to the inside for extra support and the entire piece is set aside to dry slowly.
See below for some very cool projects that were created using slabs!
|
| ||
Learning the basics of wheel throwing
Students will sit down behind the "wheel" and take it for a spin. Students will try their hand at centering and with help will make their own mug. The mug is a short cylinder form that has a handle
