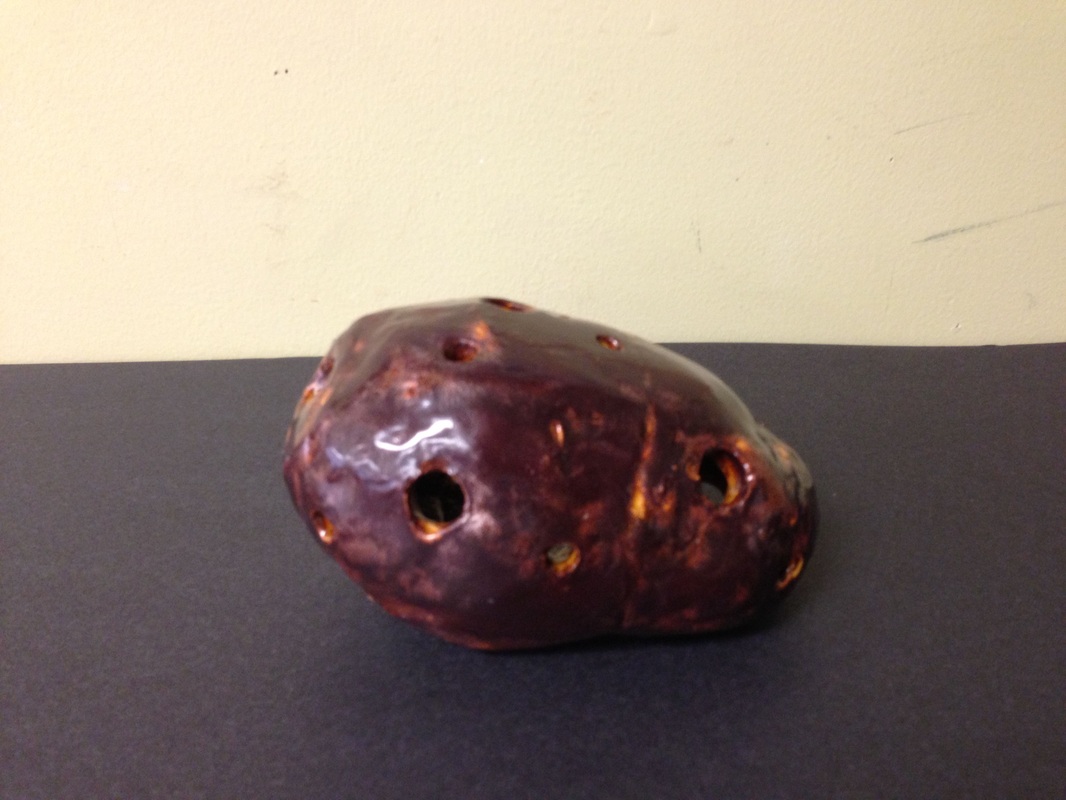
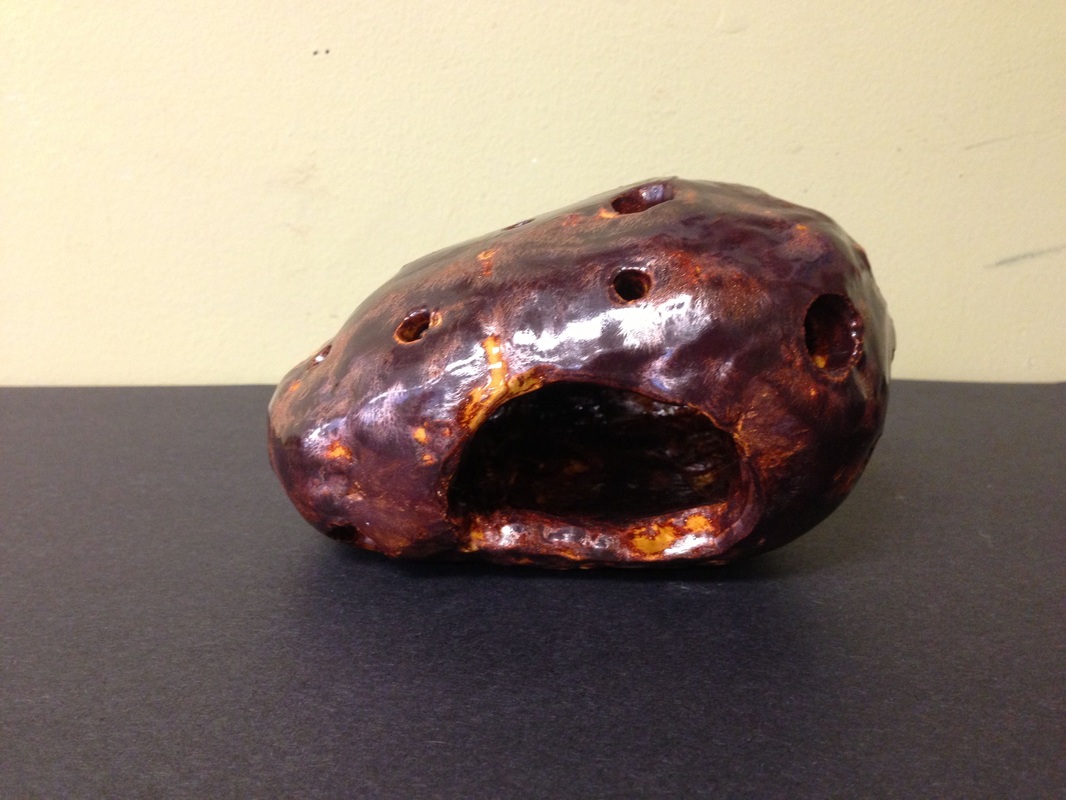
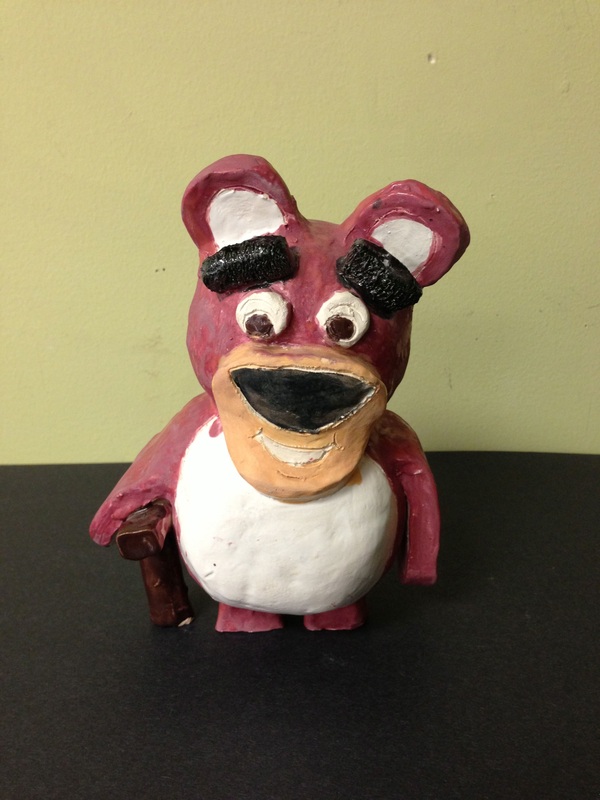
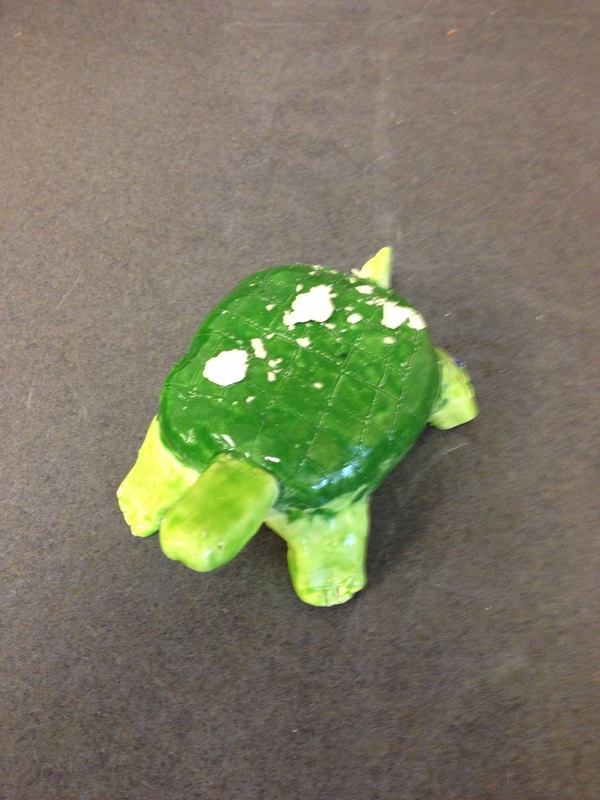
River Rocks
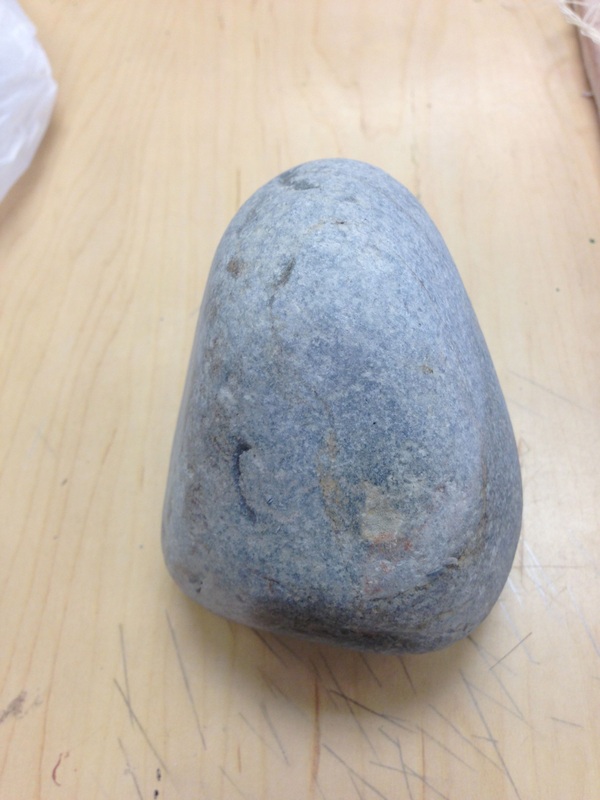
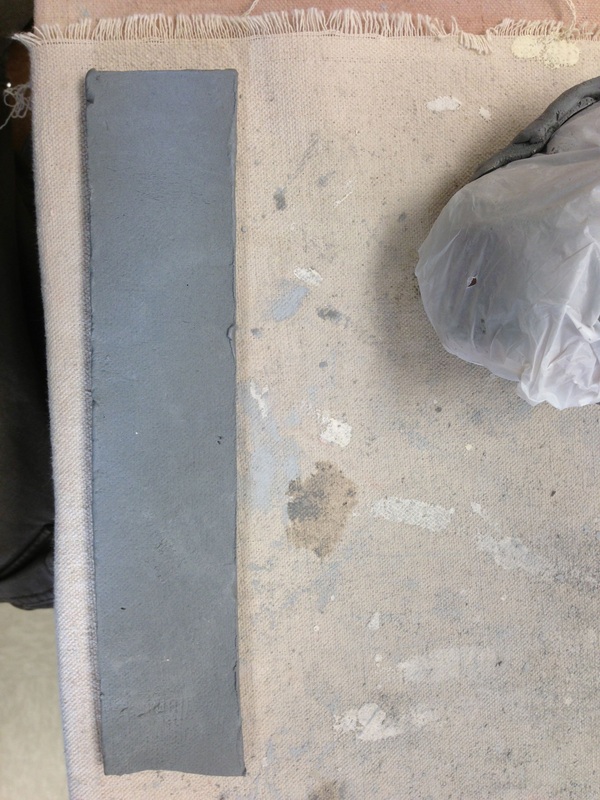
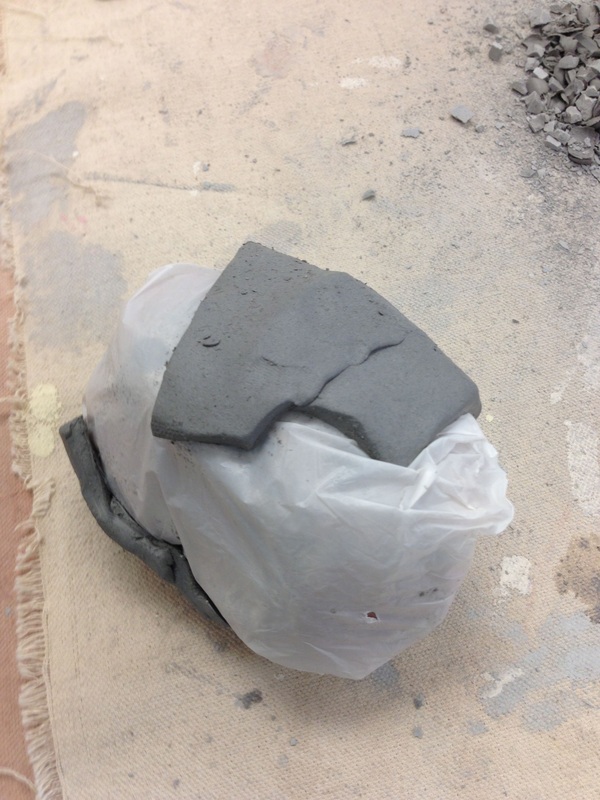
Believe it or not, this project involves wrapping a rock in clay. Its rather challenging, but the results are rather cool. The process begins when the students select their rock. The rock is then wrapped in plastic wrap and taped off using clear tape (masking tape is cause mold!) The whole thing is then covered with strips of clay slabs - see images below.
The slab strips are slightly overlapped to avoid cracking or holes. The pieces are blended together, but be careful not to blend it to the point were the clay starts thinning out. Once the entire rock is covered in clay, it is left to dry till its firm. If it is left to dry too long it will crack!
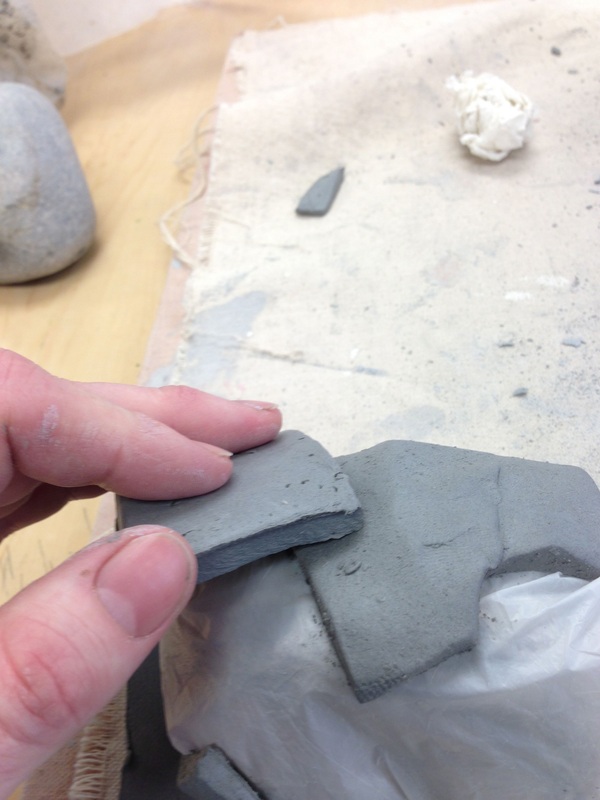
The clay is sliced in half with care at its largest points, so each piece can be taken off without any harm. The clay pieces are then put back together with the slip and score method.
The slab strips are slightly overlapped to avoid cracking or holes. The pieces are blended together, but be careful not to blend it to the point were the clay starts thinning out. Once the entire rock is covered in clay, it is left to dry till its firm. If it is left to dry too long it will crack!
The clay is sliced in half with care at its largest points, so each piece can be taken off without any harm. The clay pieces are then put back together with the slip and score method.
|
| ||
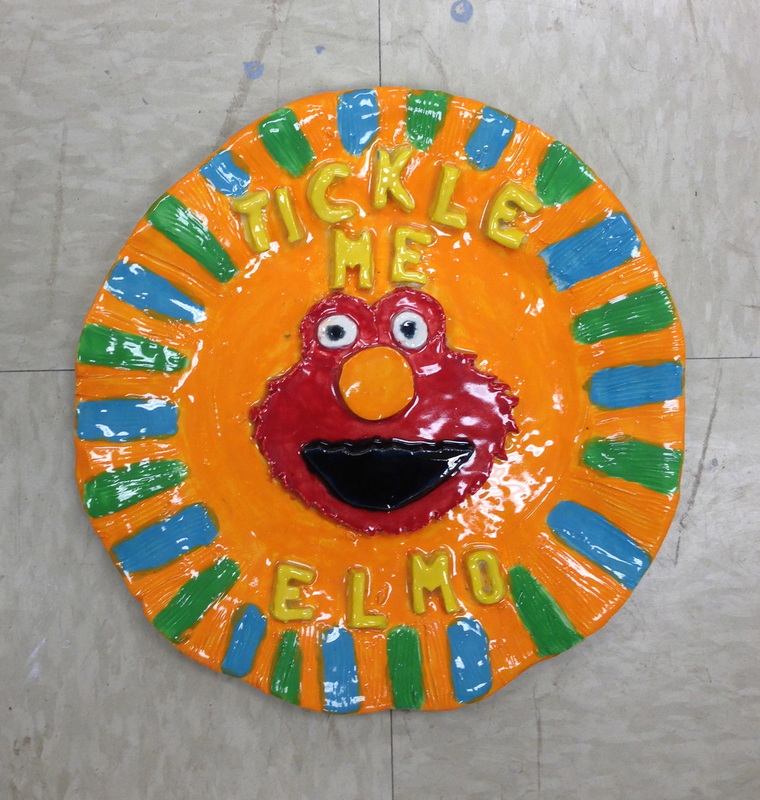
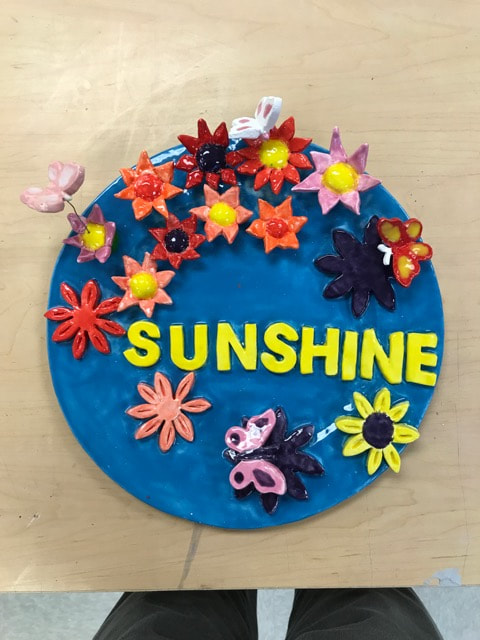
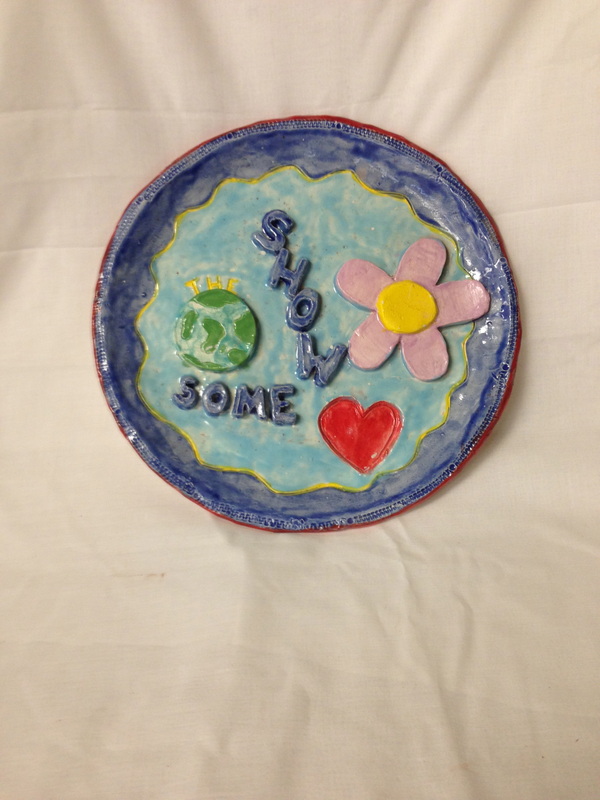
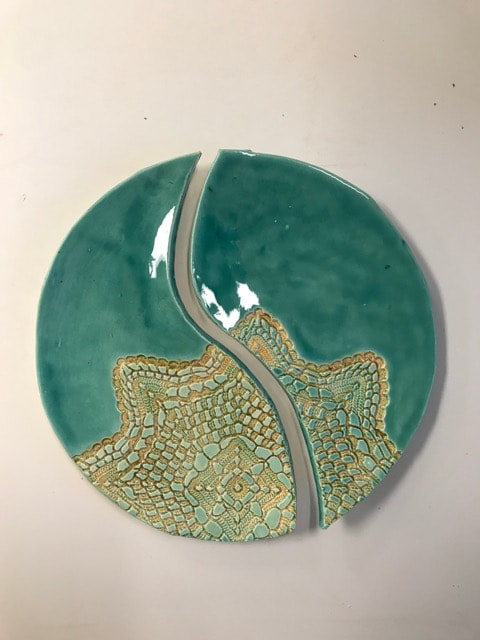
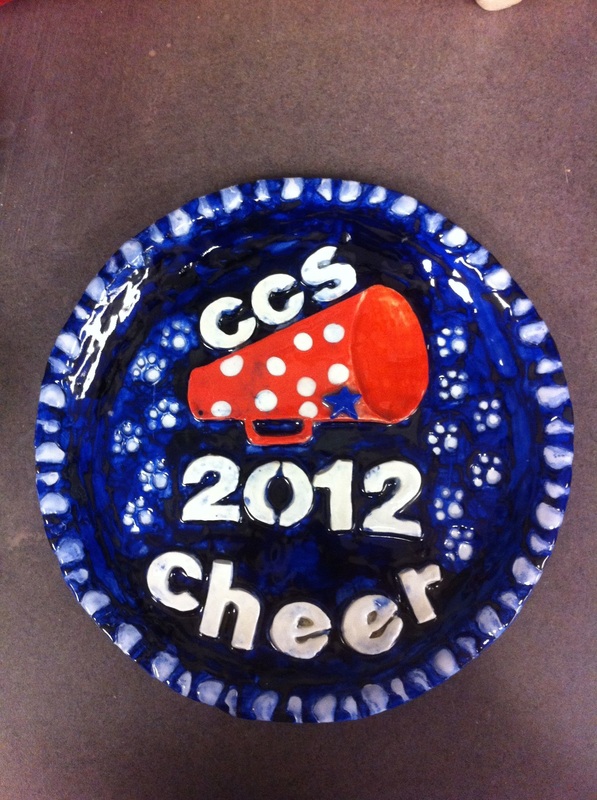
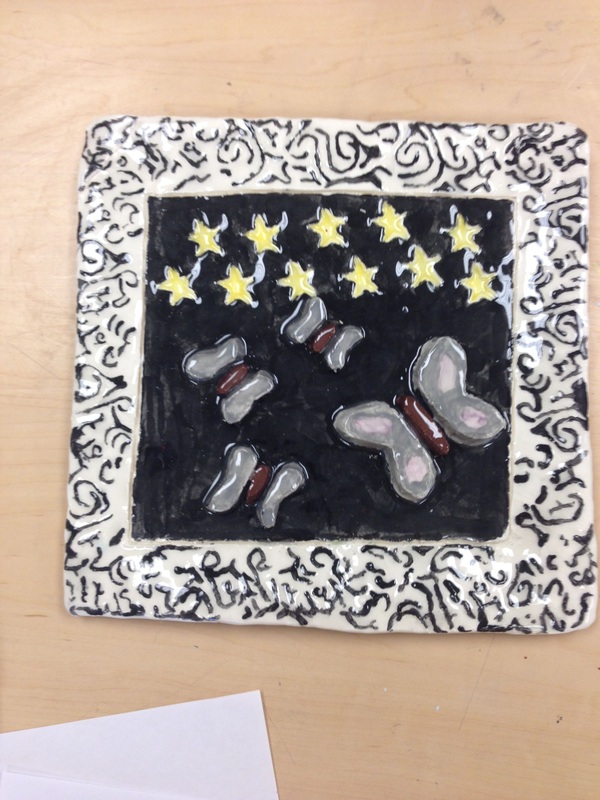
Plates
|
| ||
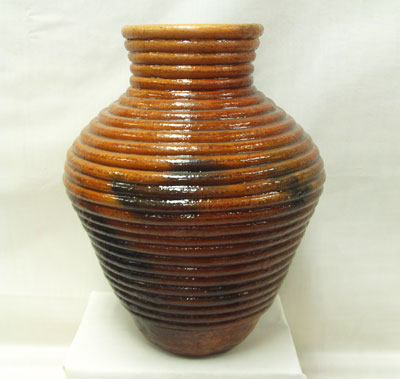
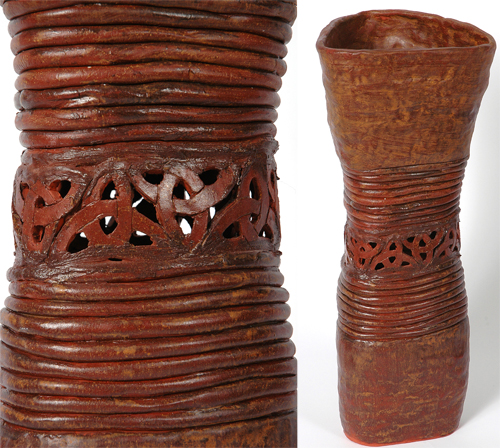
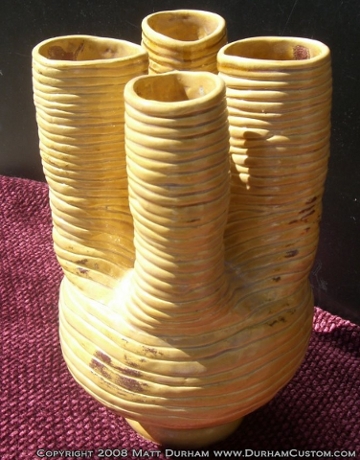
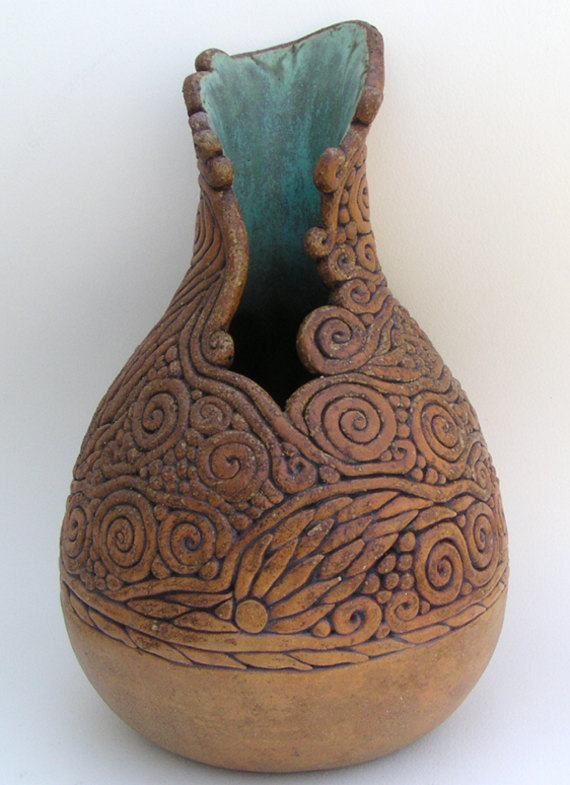
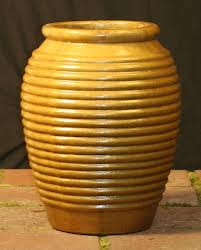
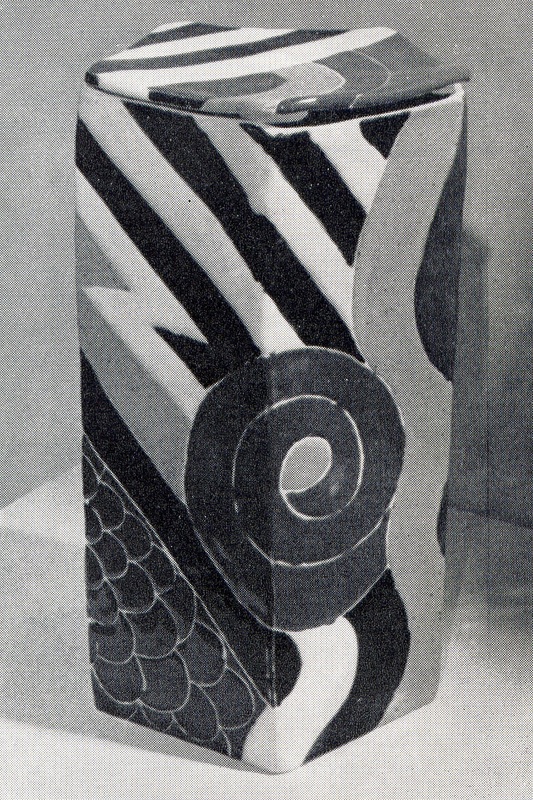
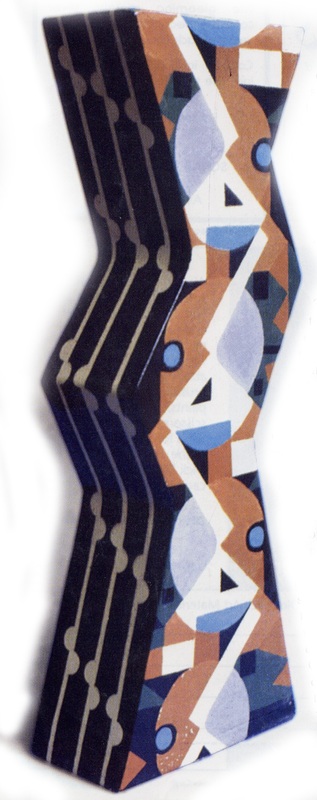
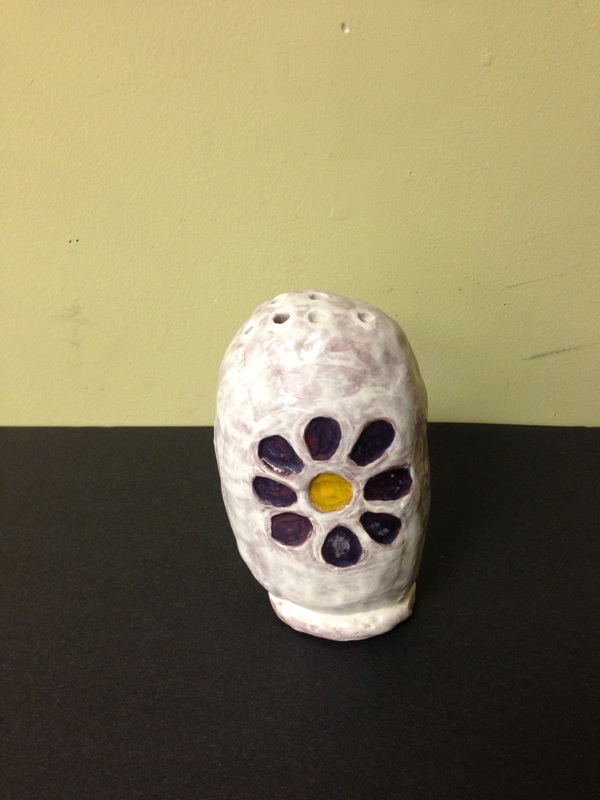
Advanced Coil Pots
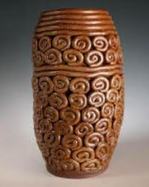
Now that you have the basics down for the coil pot, you are asked to challenge yourself. You need to create an advanced coil pot that calls for some interesting designs or overall shapes. You can see in the examples below that your pot is not just a simple cylinder.
Coils can be swirled, curled, bent and even braided. Be sure to check in with me for hint and tips to make the piece you want. Be sure to have sketches ready to show.
Coils can be swirled, curled, bent and even braided. Be sure to check in with me for hint and tips to make the piece you want. Be sure to have sketches ready to show.
|
| ||